
Delivery: Ready to ship anywhere in Canada
“Excellent product, perfect thickness and texture for easy application. Impeccable service and extremely fast delivery with Colobar!”
“
Many of our customers wonder what to put over old ceramic tile that’s starting to show its age… without necessarily wanting to tear everything out.
And we understand why.
Removing ceramic tile from a floor, wall, or countertop is rarely a pleasant experience. Between the dust, debris, and hours of labor, demolishing ceramic tile can quickly become a much more demanding project than expected.
“Who says you have to tear everything out?”
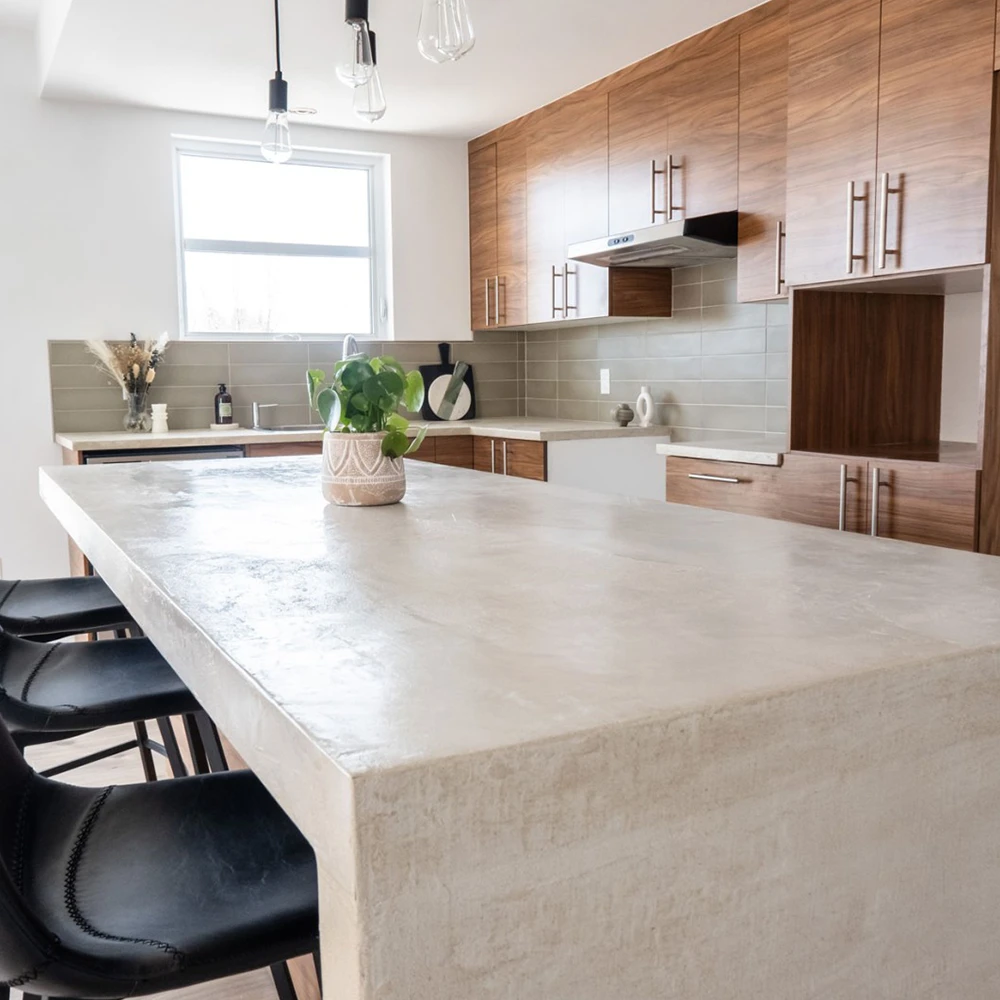
In many cases, it’s possible to cover existing ceramic tile with a cementitious coating to completely transform the look of the surface. Whether it’s covering bathroom ceramic tile, modernizing an old backsplash, or even covering a ceramic kitchen countertop, there are now much simpler solutions than complete demolition.
MicroConcrete allows you to cover ceramic tile with a modern concrete effect without undertaking major work. It’s an excellent alternative to traditional floor coverings over ceramic tile when you want a contemporary and durable look.
No need to demolish, less dust… and an impressive transformation in just two days.
Additionally, covering ceramic tile with a cementitious coating generally costs much less than complete demolition followed by installation of a new surface. We’re talking about savings that can reach 30 to 40% of your total project cost!

Before

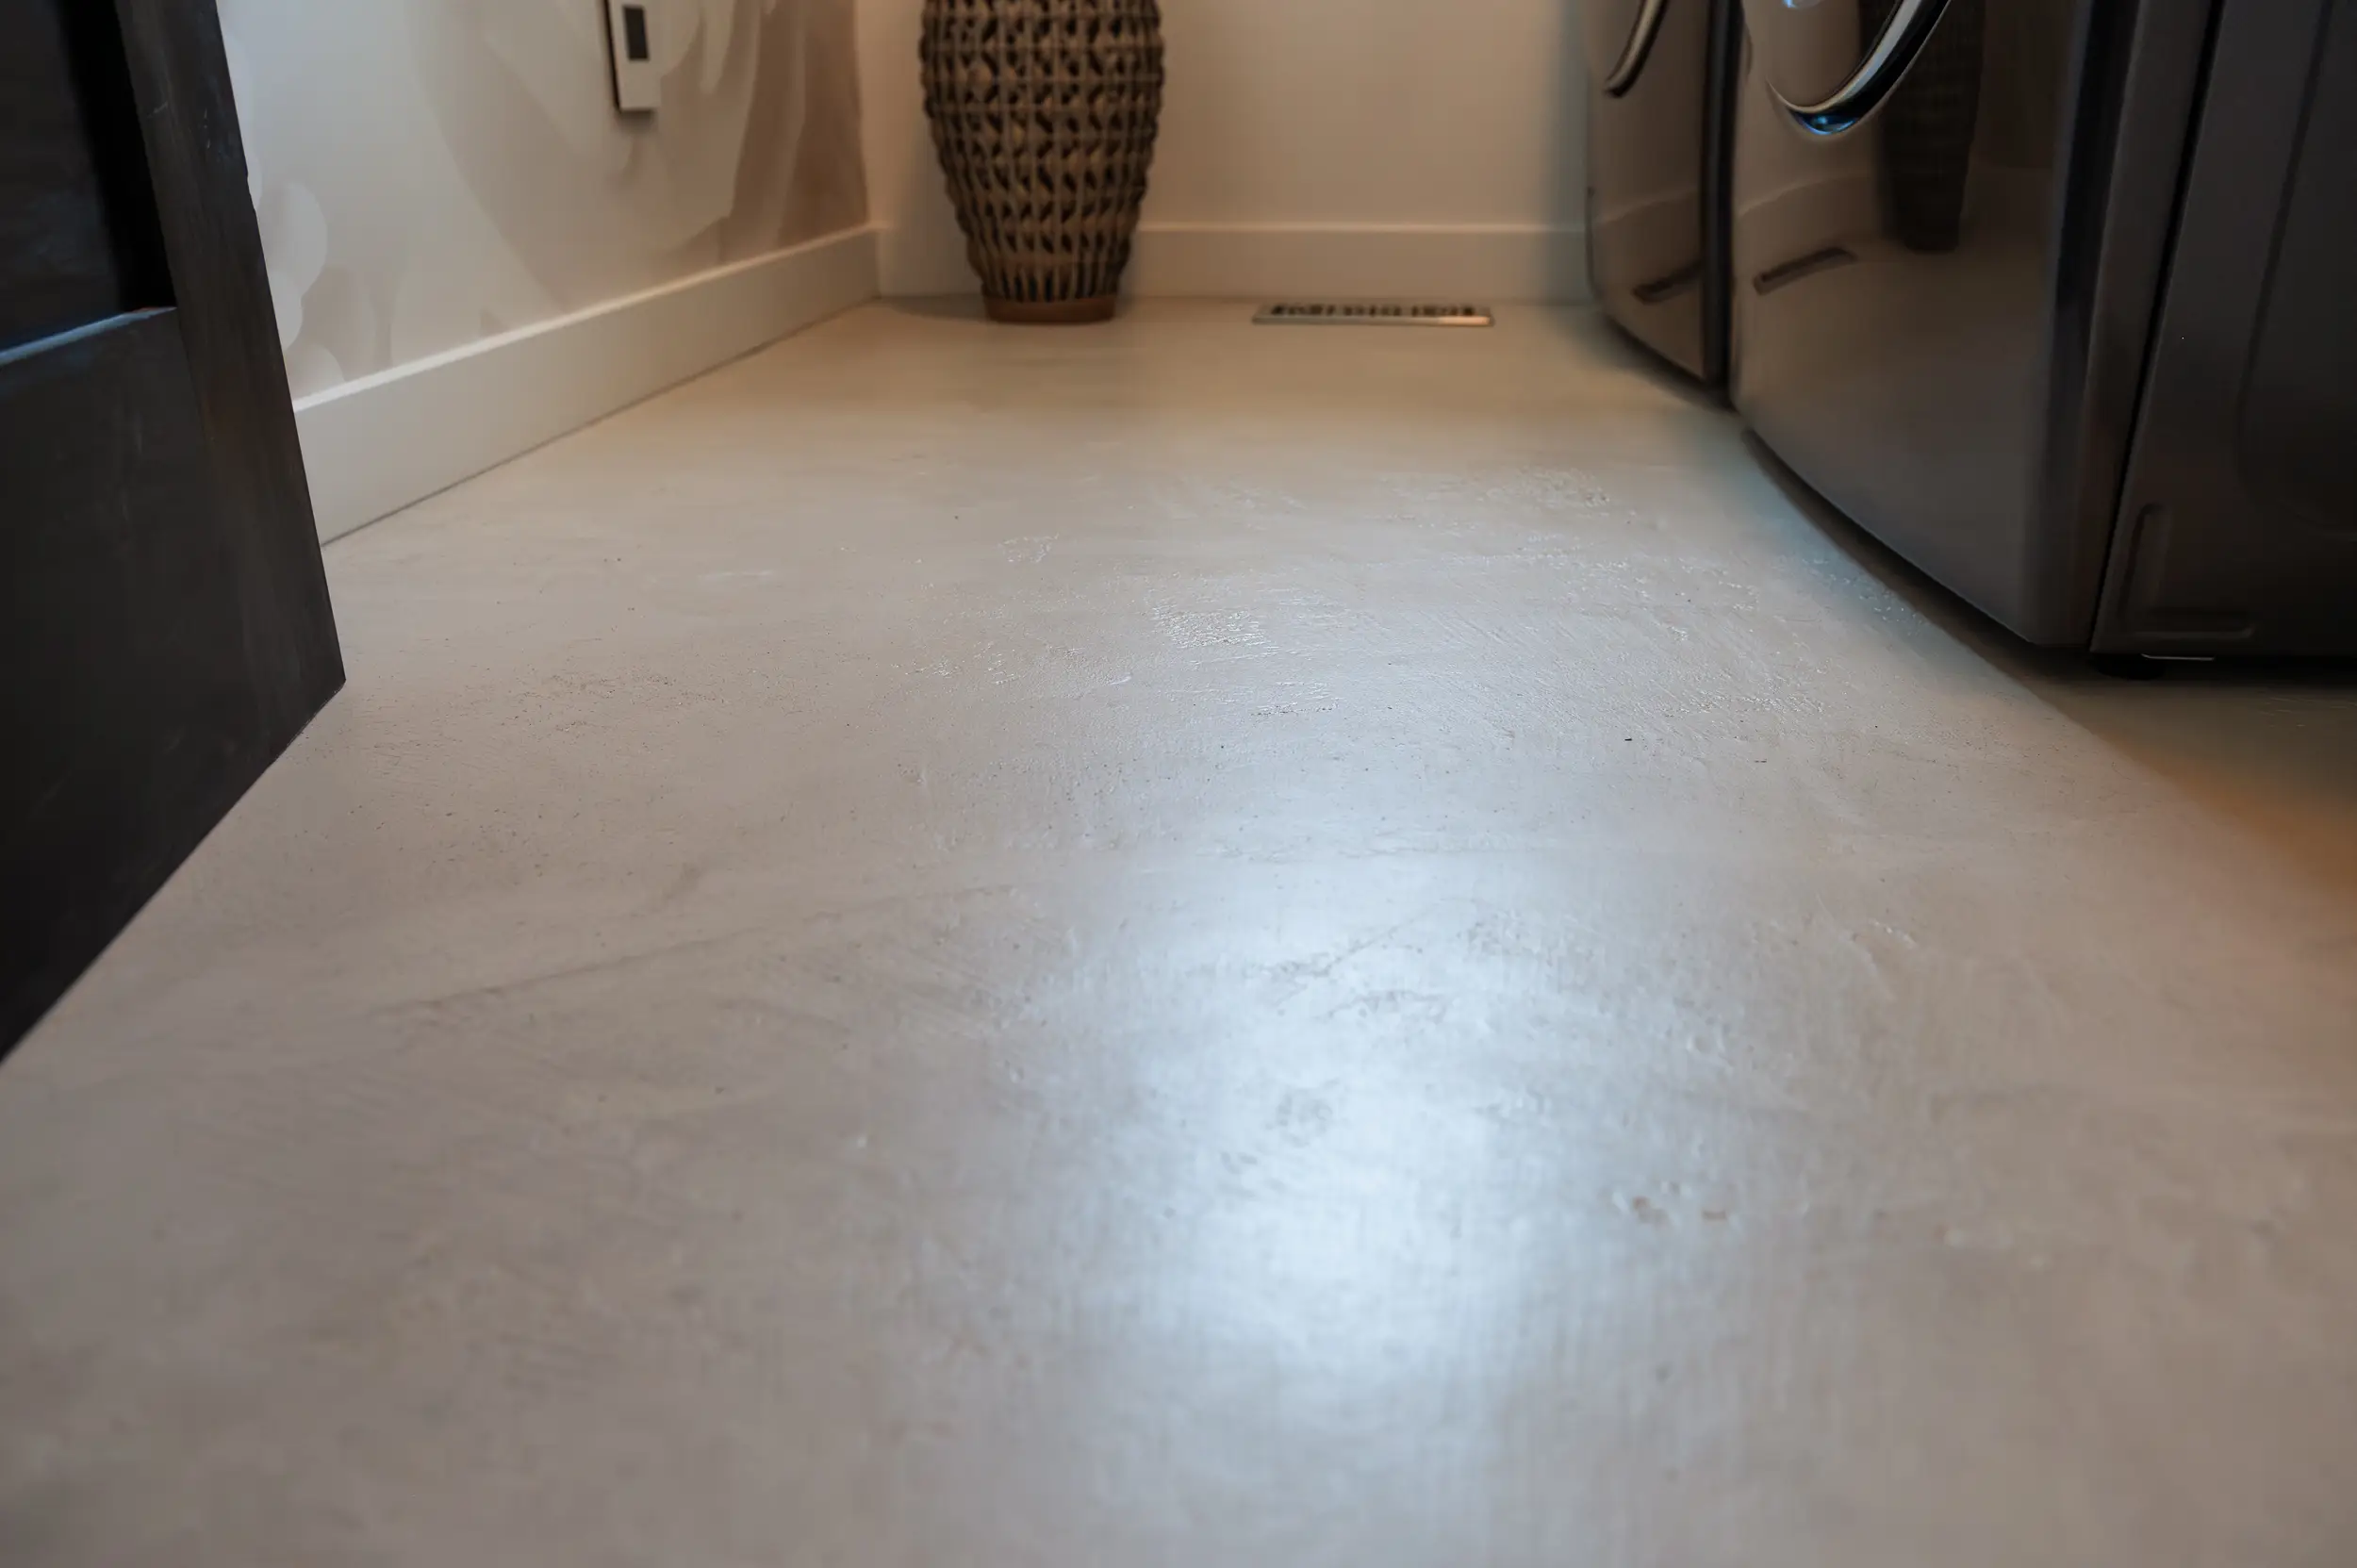
After

Before

After
01
Why Cover Ceramic Tile Instead of Removing It?
Choosing to cover ceramic tile instead of tearing everything out comes with several advantages, and not just aesthetically.
- You skip the entire demolition step. No need to break up the floor, pull out heavy tools, or spend hours removing ceramic tile piece by piece. Let’s face it: demolishing an old floor is physically demanding… and rarely enjoyable.
- You avoid an enormous amount of dust and mess. Demolishing ceramic tile often means isolating rooms by installing plastic sheeting and doing intensive cleaning after the work. By choosing to cover ceramic tile with a cementitious coating, the worksite is much simpler and much less invasive.
- Budget-wise, covering ceramic tile with MicroConcrete generally costs less than demolishing and installing new ceramic tile. On average, savings are around 30 to 40%.
- It’s also much faster. Between demolition, floor preparation, and installation of new ceramic tile, work can easily stretch over several days… sometimes even a few weeks depending on the scope of the project. With MicroConcrete, you can completely transform the look of old ceramic tile in approximately two days.
In short, you modernize the surface without experiencing all the inconveniences that normally come with demolition.
02
Preparing Ceramic Tile Before Applying Cementitious Coating
- Start by thoroughly mixing the Finitec Surface Preparation by shaking the container for a few seconds. Then apply the product to the surface using a varnish applicator or a Finitec Applicator. If certain stains resist, don’t hesitate to scrub a bit more vigorously to properly remove contaminants.
- Let it sit for a few minutes, then wipe the surface with a clean, lint-free cloth. Before moving to the next step, ensure the countertop is completely dry.
- Next, take the time to thoroughly clean the joints using a vacuum. This step is important when you want to cover ceramic tile with MicroConcrete, since dust accumulated in the joints can interfere with product adhesion.
- Once the joints are clean, apply a coat of Protective Sealer directly into the recesses of the joints using a small brush. The same product will be reused later to protect the final finish of the countertop. Let it dry completely (minimum 2 hours and no more than 12 hours).
- You can now level the surface. To do this, apply a coat of MicroConcrete filler—or simply MicroConcrete if the surface to cover is less than 50 sq. ft.—directly into the ceramic tile joints. Using a small trowel, fill the joints then smooth the surface to obtain a countertop that is as uniform as possible. Depending on the depth of the joints, a second coat may sometimes be necessary.
Then let it dry completely (between 4 and 24 hours, depending on the thickness of the coat) before continuing the project.

03
Mixing the Cementitious Coating

Before starting the application, it’s essential to properly prepare your MicroConcrete mixture. This step will determine the ease of application and the quality of the finish.
- The mixture is simple: it consists of MicroConcrete cementitious powder and water only. The ratio to follow is 20 ml of water per 100 g of product. Specifically, this equals approximately 700 ml of water for a 3.5 kg kit, or 3 L of water for an 18 kg kit.
- Start by pouring the water into a clean bucket, then gradually add the cementitious powder. The important thing is to go slowly to avoid raising too much dust when mixing.
- Then mix using a drill equipped with a paint mixer until you obtain a homogeneous texture.
- Halfway through, take the time to scrape the sides of the container with a stick or spatula. This brings unmixed powder back into the preparation and ensures a uniform mixture, without lumps or dry areas. Then continue mixing.
04
Applying MicroConcrete to Ceramic Tile
MicroConcrete application is done simply with a trowel and a stainless steel finishing spatula. In most projects—whether it’s a countertop, floor, or even a fireplace—two coats are sufficient to obtain a uniform and durable result.
- Start by applying a thin coat of MicroConcrete using the trowel. Work in half-moon movements with the spatula to properly spread the product and cover the entire surface.
- Once the first coat is applied, let it dry for approximately 4 hours. You’ll notice that the color of the MicroConcrete changes as it dries: this is completely normal and part of the process.
- Want a smoother finish? Let the concrete coating dry, then lightly sand the surface using an orbital sander equipped with 80-grit paper. For small imperfections, you can also simply scrape gently with a trowel held flat.
- Then apply the second coat by repeating the same application method. Once finished, let the cementitious coating dry for 12 hours before moving to the next step of the project.
05
Covering the Surface with a Protective Sealer
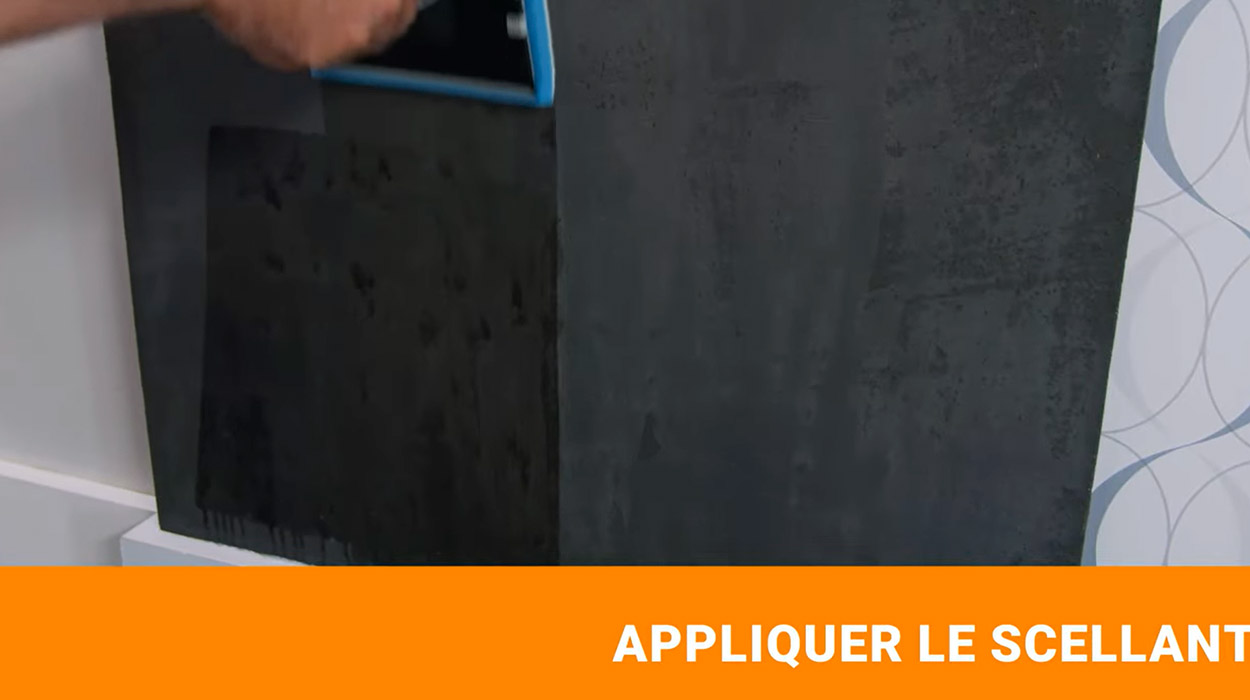
Once the MicroConcrete is thoroughly dry, it’s important to protect the surface with a finishing product. This step will preserve the concrete effect over time, while making it more resistant to stains, wear, and dust accumulation. For this, we use Finitec Protective Sealer.
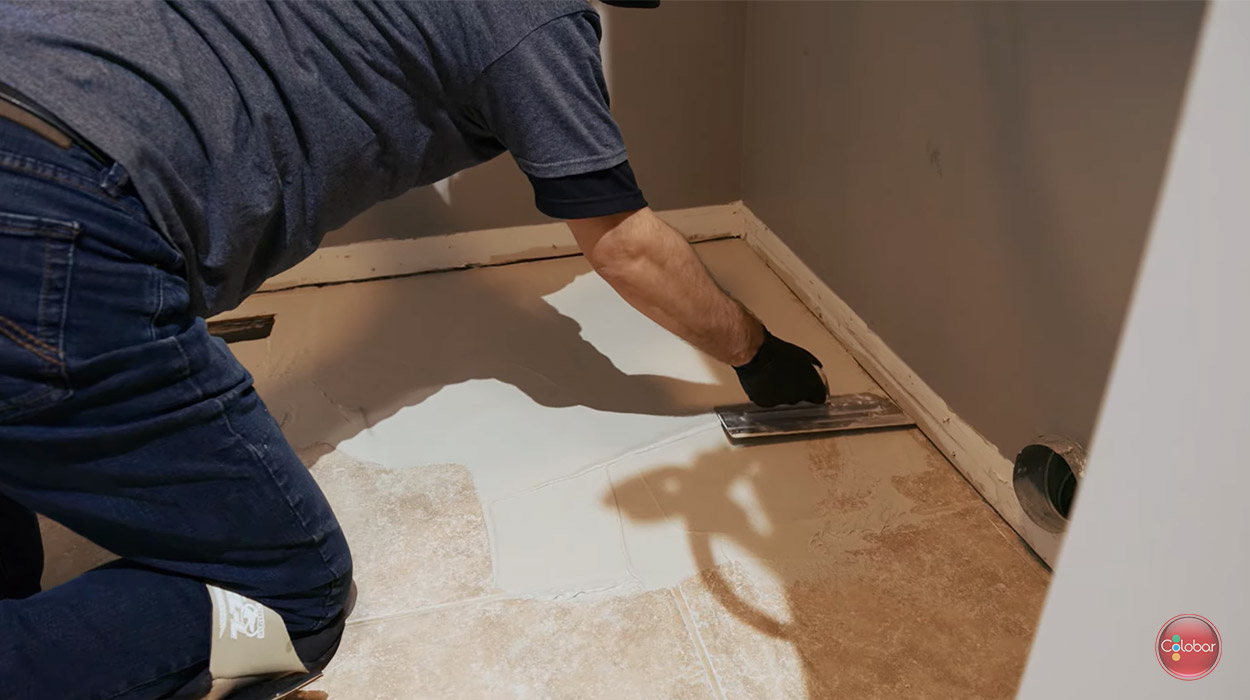
- Before application, start by lightly correcting the surface using a trowel to remove small roughness. The goal is to obtain a surface that is as uniform as possible.
- Then gently mix the sealer container for a few seconds. It’s important not to shake the product too much to avoid forming bubbles that could affect the finish.
- Then apply the sealer evenly, using straight and uniform movements. With the Finitec applicator, you can go over the same area without problem, which makes it easier to obtain a homogeneous coat.
- Let the first coat dry for approximately 2 hours before continuing.
- Then apply a second coat following the same method.
- For a matte finish sealer, two coats are sufficient to properly protect the surface.
- In the case of a wet-look sealer, plan for 3 to 4 coats, always respecting a drying time of approximately 2 hours between each application.
Start your project now!
You will find all the products you need directly on our website.
- Start by measuring the dimensions of the surface you want to cover in order to calculate the quantity of concrete coating you need.
- A 3.5 kg bag of MicroConcrete covers 35 sq. ft. (1 coat)
- An 18 kg bucket covers 180 sq. ft. (1 coat)
- Choose the MicroConcrete color you like.
- Place your order online and choose between in-store pickup and home delivery.
Want to learn more about MicroConcrete and “Concrete Effect” products? Visit our blog dedicated to this topic!
Products found in this article.

MicroBéton Cementitious Coating
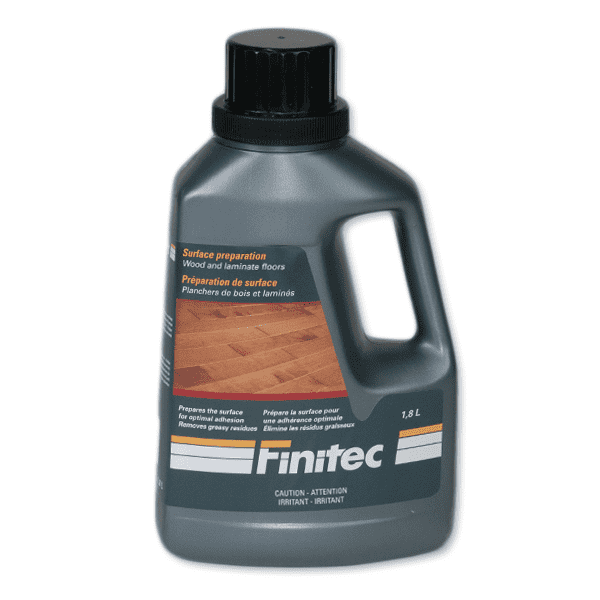
Finitec Surface Preparation

Finitec Protective Sealer
Q&A
Q- Can I cover ceramic tile that is already cracked?
If the ceramic tile is unstable, detached, or severely damaged, covering it will not solve the problem. In this case, you must first stabilize or replace the problematic areas, otherwise movements may cause the finish to crack.
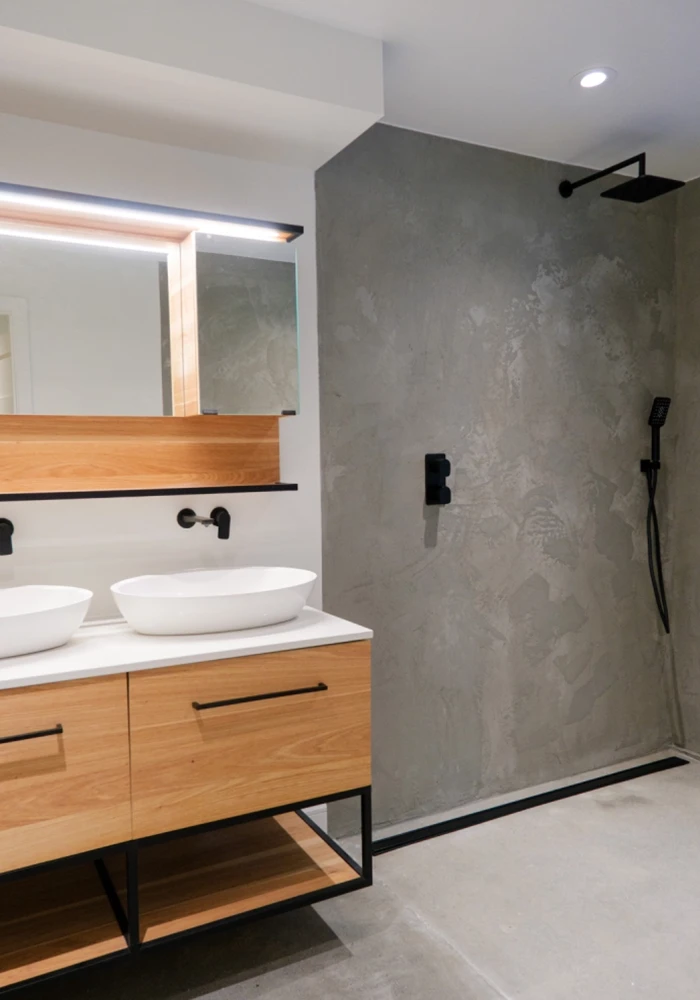
Q- Is this type of covering compatible with a bathroom or shower?
Yes, but only if the cementitious coating is covered with the wet-look sealer and the surface is not exposed to standing water or infiltration. Very humid areas such as the inside of a shower require special attention depending on the context.
Q- What should I do if my joints are very deep or if my ceramic tile is very uneven?
When level differences are very significant, the coating may require more filler coats to even out the surface. Beyond a certain threshold, it’s better to assess whether more extensive preparation is necessary before covering.
Q- How long before I can walk on it or put furniture back?
Even if the surface seems to dry quickly, optimal resistance develops over time. Avoid heavy loads and intensive movement until the system has completely cured to prevent marks and impressions.
Q- What should I do if I notice imperfections after drying?
Most small imperfections can be corrected locally by light sanding or scraping. The important thing is to intervene before applying the sealer.
Q- How do I maintain the concrete effect or repair a damaged area over time?
Maintenance is generally simple, but in case of localized damage, it’s possible to make a spot repair by reapplying the coating to the affected area, then reapplying the sealer to even out the entire surface.


