Delivery: Ready to ship anywhere in Canada
“Excellent online service, next-day delivery! Unbeatable paint quality.
Thank you, Olivier 🥇.”
Painting a ceiling is certainly not the most enjoyable task in a renovation project. Constantly having your arms in the air, your neck getting tired, and your shoulders aching… You generally want the job to be successful on the first try.
Because there’s nothing more frustrating than finishing a third coat only to find that the result still doesn’t meet your expectations.
If you want to avoid the most common mistakes and maximize your chances of success, here are 16 simple tips that will help you achieve a uniform, streak-free ceiling worthy of a professional job.
In the Good Old Days: Perfect Ceilings with Oil-Based Paint
Since childhood, I’ve had several opportunities to paint with my father. Back then, oil-based paint was still used.
Painting ceilings with this type of paint was not very pleasant. Since it was more liquid, we often ended up with splashes on our faces during application.
However, a significant advantage compensated for this discomfort: oil-based paint dried much more slowly. This allowed more time to work the surface and correct imperfections.
Today, with water-based paints, it’s the opposite: they dry faster, which reduces splashes but also increases the risk of roller marks if you don’t work quickly enough.
How I Learned to Paint Ceilings: The Ceiling Squad 911 to the Rescue
In my teenage years, I had the opportunity to paint countless ceilings with my cousin Patrice, who has now been my partner at Colobar for over 20 years. At the time, we literally formed the “ceiling squad,” regularly called upon by family and friends discouraged by the magnitude of this task.
We managed to fix ceilings that had given everyone trouble before us.
By the way, before you ask: NO, we no longer take on pro bono ceiling painting contracts.
However, I am sharing with you here the fruit of this experience accumulated over tens of thousands of square feet of ceilings achieved without roller marks.
And if, despite these tips, painting your ceiling still seems too great a challenge, email us or contact us via live chat. We can refer you to professional painters who truly master the art of the perfect ceiling, without marks or surprises.
16 Pro Tips for a Ceiling Paint Job Without Roller Marks
To maximize your chances of achieving a uniform ceiling, free of streaks and roller marks, here are some proven tips:
1
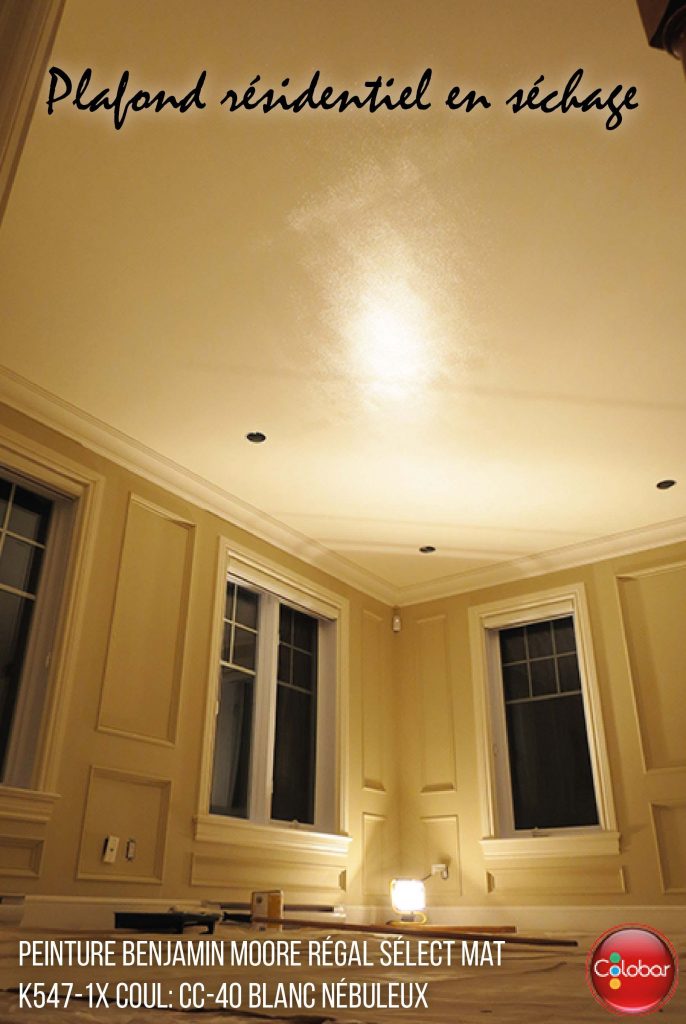
Always apply a primer-sealer, even if your ceiling is already white
Many ceilings, particularly those already painted with a matte finish, remain very porous. Without primer, the surface quickly absorbs the water in the paint, which accelerates drying and increases the risk of roller marks. A primer-sealer helps to even out the porosity of the ceiling and gives you more time to work the paint. INSL-X’s Aqua-Lock is an excellent choice for this purpose.

“Very good product, easy to apply and good coverage.
Lemieux M., client(e) confirmé(e)
Thanks to the Colorbar team for suggesting this product”
2
Tint your primer the same color as the finish coat
When the primer and finish coat are similar in color, a single generous coat of finish paint is often enough to achieve a uniform result. If the ceiling looks good after this first coat, there’s no need to add a second. Each additional coat increases the risk of marks and visible touch-ups.
3
Choose a paint specifically designed for ceilings
Not all paints apply as easily to ceilings. Opt for a matte paint known for its slower drying time and ease of application. The slower the paint dries, the easier it is to achieve a uniform result.
-
 Select options This product has multiple variants. The options may be chosen on the product pageAdd to wishlist
Benjamin Moore Regal Paint
Price range: 37,49 $ through 96,99 $ -
Select options This product has multiple variants. The options may be chosen on the product pageAdd to wishlist
Benjamin Moore BEN Paint
Price range: 31,99 $ through 73,99 $ -
Select options This product has multiple variants. The options may be chosen on the product pageAdd to wishlist
Benjamin Moore ULTRA SPEC 500 Paint
Price range: 49,69 $ through 249,99 $ -
Select options This product has multiple variants. The options may be chosen on the product pageAdd to wishlist
Acrylic Ceiling Paint K508 by Benjamin Moore
Price range: 35,99 $ through 76,99 $


4
Slightly reduce the room temperature before starting
A few hours before starting work, lower the temperature to around 18 °C (64 °F). Since warm air naturally rises to the ceiling, paint tends to dry faster at height. A slightly cooler room will give you more working time.
5
Eliminate drafts during application
Close windows and avoid running fans or systems that create direct airflow. Drafts accelerate paint drying and increase the risk of roller marks.
6
Maintain adequate humidity levels
Air that is too dry is your enemy when painting a ceiling. In winter, heating tends to dry out the air inside homes. I therefore recommend using a humidifier, running a bath or a shower, or boiling a pot of water to humidify the room a few hours before painting your ceilings. Ideally, aim for a humidity level of at least 40 to 50% in winter. During the rest of the year, the humidity level in the air (between 40% and 60%) is generally ideal for painting your ceilings.
7
Add a drying retarder when necessary
If conditions favor rapid drying, adding a drying retarder can give you a few precious extra minutes to spread the paint before it starts to set on the surface.
8
Apply paint along the shortest dimension of the room
When applying, always work across the shortest dimension of the room. This allows you to return to the previous section more quickly while the edges are still wet. In a square room, work parallel to the direction of natural light to minimize visible marks.

9
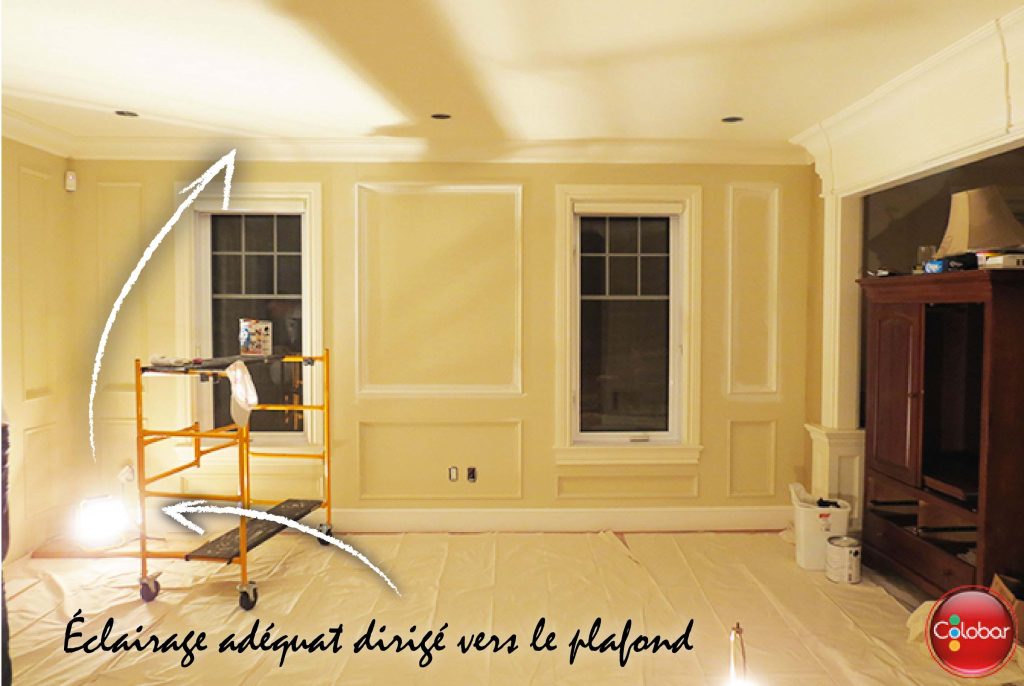
Ensure proper lighting
Adequate lighting will allow you to immediately spot missed areas, paint build-up, and any roller marks while the paint is still wet. Ideally, use one (or more) work lights directed straight at the ceiling. It is much easier to correct a flaw when you see it during application than when you discover it after the paint has dried.
10
Turn off recessed lights that emit heat
Recessed lights can heat up the surrounding ceiling areas. In addition, their direct light can dazzle you and make it more difficult to see imperfections during application. It is better to turn them off during the work and work with properly positioned site lighting.
11
Work with quality tools
The choice of roller directly influences the final result. For a ceiling, opt for a non-shedding roller approximately 15 mm (0.6 inches) thick. It holds more paint, allows for a more generous coat, and slightly slows drying, which helps reduce the risk of roller marks.
12
Clear your workspace as much as possible
Before starting, remove as much furniture as possible from the room. You will be able to move around more easily, move your equipment without obstruction, and maintain a consistent application rhythm. The fewer obstacles there are, the less likely you are to interrupt your work at the wrong time.
13
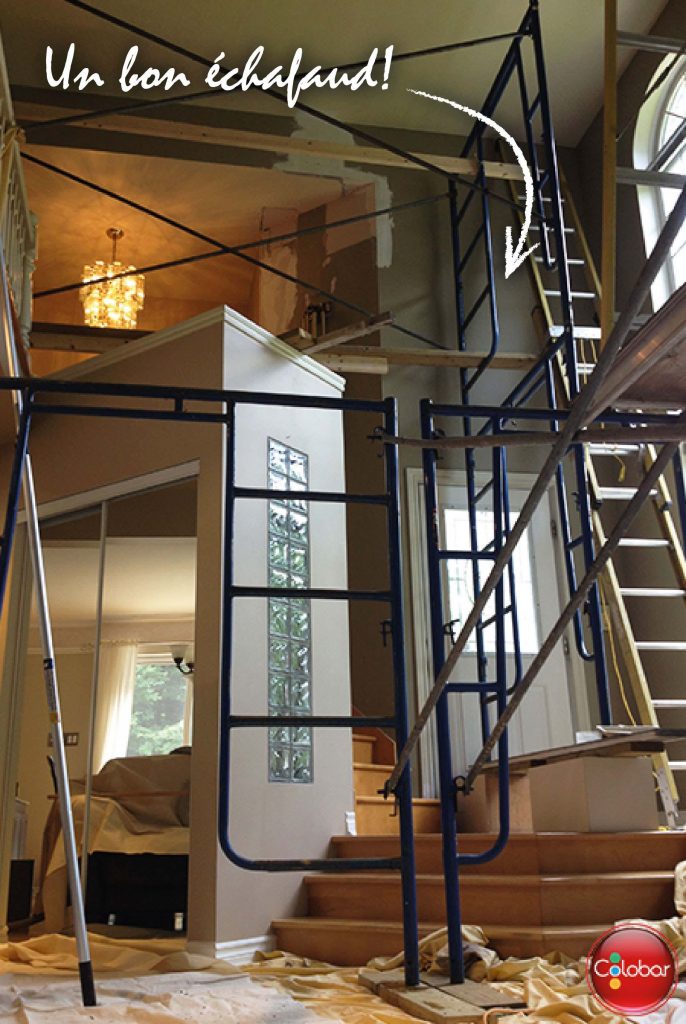
Always prioritize safety and comfort at work
For high or cathedral ceilings, use appropriate scaffolding rather than a simple stepladder. You will work more safely and much more efficiently. For roller application, a good quality telescopic pole will often allow you to reach the surface without constantly climbing up and down. The goal is to work comfortably while limiting interruptions that can affect the quality of the result.
14
Completely finish cutting in before using the roller.
Complete all ceiling cutting in with a brush before starting roller application. This way, you can focus entirely on rolling without interruption. However, make sure not to leave any drips or paint build-up during cutting in, as they could remain visible once dry. When applying paint with the roller, go as close to the wall as possible to properly blend the two areas.
15
Resist the temptation to go back
Once a section is painted, avoid going over it again a few minutes later. The paint quickly begins to dry on the surface, and a new pass with the roller risks creating marks, touch-ups, or texture differences. When one section is finished, simply move on to the next.
16
Always maintain the same smoothing direction
During your final roller passes, always smooth in the same direction. Avoid back-and-forth movements that constantly change direction, as they can create an uneven finish and accentuate roller marks. Uniform smoothing greatly contributes to achieving a homogeneous ceiling.


If you apply these few tips, you will maximize your chances of achieving a ceiling you can be proud of. The application will be more pleasant, the work will progress more easily, and, most importantly, the final result will live up to the efforts invested.
The goal is simple: a uniform ceiling, without roller marks, without false reflections, and without visible touch-ups. A beautiful, homogeneous matte finish that goes completely unnoticed… as every good ceiling should.
Start your project now!
You will find all the products you need directly on our website.
- Start by measuring your ceiling dimensions to calculate the amount of paint you need.
- One gallon of ceiling paint covers between 400 and 500 sq ft.
- Choose the ceiling paint that best suits your budget and expectations.
- Place your order online and choose between in-store pickup and home delivery.
Want more painting tips and tricks? Check out our blog!
Products found in this article.

K508 Ceiling Paint

Paint Retarder
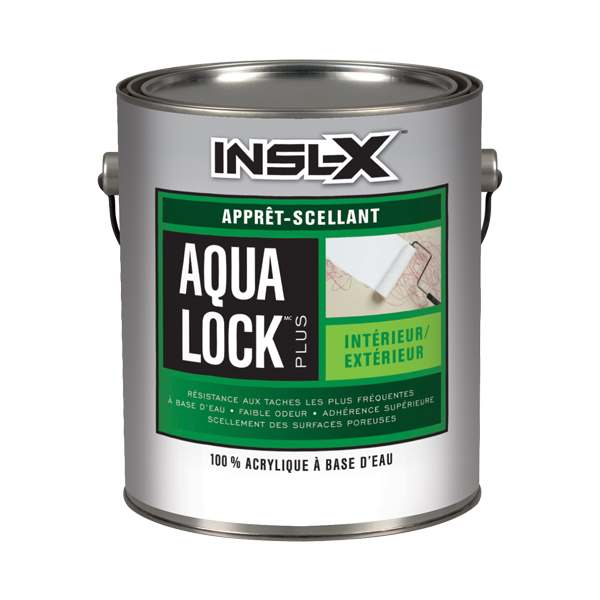
100% Acrylic All-Purpose Sealing Primer
FAQ
Q. Why do roller marks only reappear the next day when the ceiling seemed perfect the night before?
This is a common phenomenon called “false reflection.” When the paint is still wet, light often masks slight texture differences left by the application. Once the paint is completely dry, these variations become visible depending on the angle of natural or artificial light. This is why a ceiling can seem impeccable in the evening and reveal flaws the next morning.
Q. Can you simply repaint a section of the ceiling where roller marks have appeared?
Unfortunately, this is rarely the best solution. On a ceiling, localized touch-ups often remain visible because the texture, paint thickness, or sheen differ slightly from the rest of the surface. In many cases, you need to repaint the entire section delimited by the walls to achieve a uniform appearance.
Q. Is a ceiling that has been painted many times more difficult to get right?
Yes. Over the years, accumulated layers can create texture differences, mask certain imperfections, or reveal previous repairs. These irregularities sometimes become more visible after applying new paint, even when it is well applied.
To fix this problem, you can smooth the ceiling by lightly sanding it.
Q. At what point should a ceiling be repaired before being repainted?
If the ceiling has cracks, visible joints, blisters, visible repairs, or water damage, it is best to correct these problems before getting out the brushes. A new coat of paint rarely improves the appearance of structural defects; it even tends to highlight them further.
Q. Why do some ceilings look perfect during the day but full of flaws in the evening?
Lighting greatly influences the perception of a ceiling. Grazing light from a large window or a directional fixture can reveal imperfections that go completely unnoticed from another angle. It is often the ceiling that changes appearance, not the quality of the paint.
Q. Are there ceilings that should be repainted by a professional from the start?
Very high cathedral ceilings, stairwells, ceilings with a large continuous surface, or those heavily exposed to natural light are much less forgiving of errors. In these situations, the difficulty often comes more from access and application conditions than from the paint itself.
If you’ve never painted ceilings before, it might be best to leave the job to a professional.