


Description
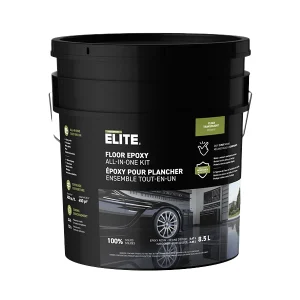
100% Solids Floor Epoxy (8.5L) - METALLIC Effect
Drying
24 h between coats
Coverage
120 sq ft per 8.5 liter kit
Number of coats
2 coats
Eco-friendly product
Zero VOC
The ideal product
to protect and beautify
your garage
100% Solids Epoxy is a two-component epoxy-based coating, solvent-free and odorless. This floor protection system offers a very durable glossy finish, resistant to abrasion and chemical agents. It has been designed for industrial, commercial and residential projects. Since drying and curing occur through catalysis, there are no harmful solvents or odors emitted during application. 100% Solids Epoxy is approved by the Canadian Food Inspection Agency (CFIA). It is a relatively simple concept, requiring minimal manual skills, allowing DIYers to achieve results comparable to professionals.
Advantages
Dense surface resistant to bacteria and moisture, and easy to clean
Excellent adhesive properties, allowing application on various types of substrates
Can be applied in multiple coats with excellent adhesion
Meets LEED standards
With incomparable durability, 100% Solids Epoxy resists tires, oils, and gasoline.
Coverage
Standard colors:
Approximately 800 sq ft (first thin coat of epoxy, 5 mil thickness)
Standard colors:
Maximum 500 sq ft (second coat of epoxy) (8 mil thickness)
Clear epoxy on smooth surface:
Approximately 500 sq ft (8 mil thickness)
Clear epoxy on textured surface (flakes):
Approximately 200 sq ft (20 mil thickness)
Safety colors:
Maximum 250 sq ft (16 mil thickness)
Metallic colors:
Maximum 120 sq ft (32 mil thickness)
Uses
Garage floor protection • Interior decoration • Commercial layout
Residential and commercial garages, mechanical workshops, animal shelters, professional kitchens, pharmaceutical industry, pulp and paper, bakeries, breweries, operating rooms, kitchens, meat processing labs, commercial areas, light industry, heavy industry, metal industry, warehouses, wastewater treatment, technical rooms, chemical processing, dairy products, electronics…
Passeport Élite 100% Solids Epoxy, ideal for all your interior concrete projects! This coating is an effective solution for aesthetic and durable concrete floors.
Does not apply on vertical surfaces exceeding 12″ as it is self-leveling.
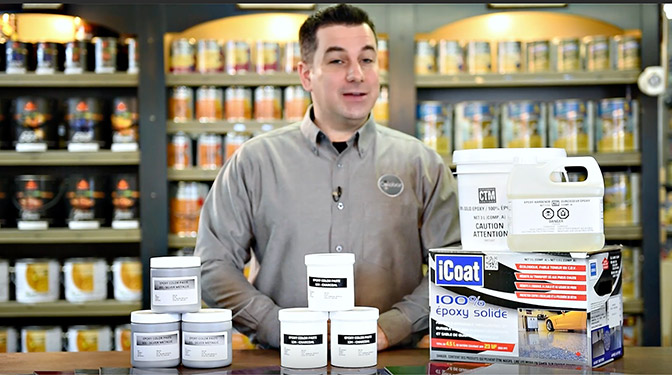
Kit Contents
- Epoxy Resin | 5.67 L
- Epoxy Hardener | 2.84 L
- Detailed instruction sheet
Colors
Clear
1 factory pre-mixed color Light Gray
9 opaque colors (one pot of opaque epoxy colorant must be added to a clear epoxy kit)
10 metallic colors (one pot of metallic epoxy colorant must be added to a clear epoxy kit)
Available colors

How to apply
Learn with our videos how to apply metallic epoxy on a floor.
How to create a metallic epoxy floor 0:47
See how to create a metallic epoxy floor.
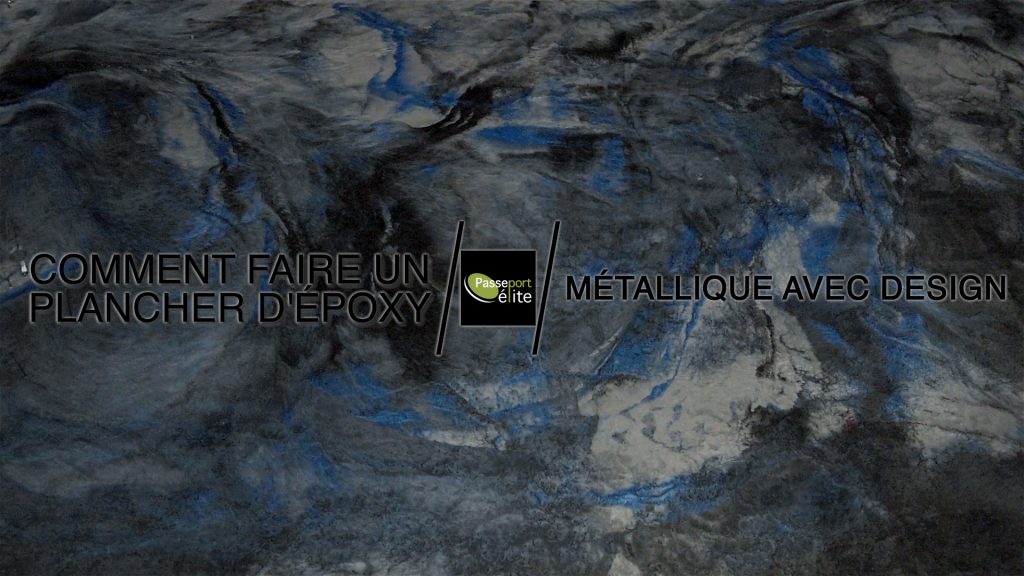
How to create a metallic epoxy floor with design 1:00
See how to create a metallic epoxy floor with a design by adding a 3rd color.
Surface preparation
Proper surface preparation is crucial. Concrete must be clean, dry, and free of all grease and contaminants.
Cleaning
Wash the surface using Passeport Élite Concrete Preparation. Rinse thoroughly and let dry for at least 48 hours. For oil stains, use Passeport Élite Degreaser.
Sanding/Grinding
Resurfacing with a diamond-head polisher is by far the best surface preparation, but it can be replaced by sanding for most residential projects. Sand the surface using a sander equipped with 60-grit sandpaper to remove old layers of paint.
Dust Removal
Completely remove dust from the surface using a shop vacuum. Clear the surface of all contaminants and fine concrete dust.
Patching
Widen cracks with a grinder to release loose particles and clean them with a shop vacuum. Use a concrete crack filler. Passeport Élite 100% Solids Epoxy can be applied 4 to 6 hours later.
Catalysis and Mixing
Stir each component separately. Pour all the hardener (component B) into the epoxy resin (component A). Mix well for 4 minutes at low speed (300 to 450 rpm) using a drill equipped with a mixer. Avoid mixing at too high a speed to prevent bubbles. Regularly scrape the sides and bottom of the bucket with a stick to obtain a homogeneous mixture. Let the mixture sit for 2 minutes. Apply entirely within the next 30 minutes.
Important
Proper stirring is essential for the hardener to act uniformly. The product must be applied within 30 minutes of mixing.
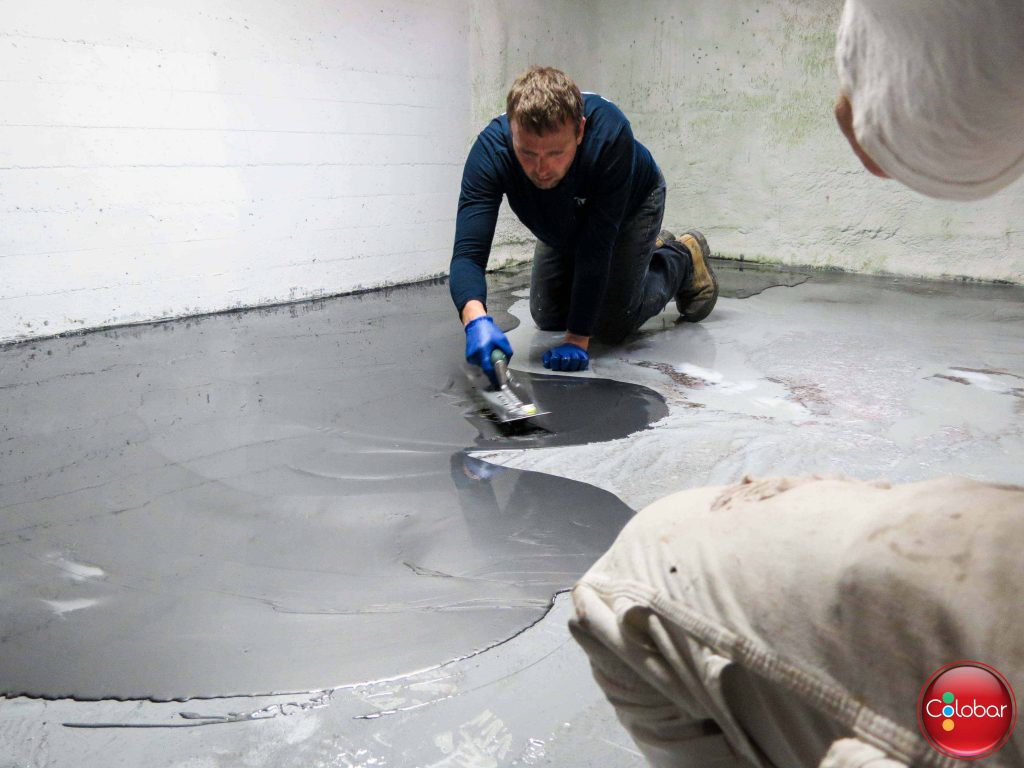
Application:
Pour the product directly onto the floor in several ribbons. Quickly perform the edging with a brush. Then, use a squeegee to spread the product, and back-roll (left to right, then front to back). It is important to ensure uniform spreading over the entire surface and avoid creating puddles.


There are no reviews yet.